
By Kiana Wolford for The Gathering Garden LLC
Written April 24, 2026
This post contains affiliate links
Prep Time: 2 hours and 10 minutes
Overnight Proofing: 8 – 10 hours
Cook Time: 35 – 45 minutes
Cooling Time: 60+ minutes
Total Time: 11 – 13 hours and 45 minutes
Introduction
Your sourdough starter is a living culture, which means it may need a little care and attention to get it back to full strength or keep it thriving. This guide will walk you through how to revive a starter that has been refrigerated or inactive, as well as how to maintain it for regular baking. With consistent feeding and proper storage, your starter will stay active, bubbly, and ready to bake delicious sourdough whenever you are.
Ingredients
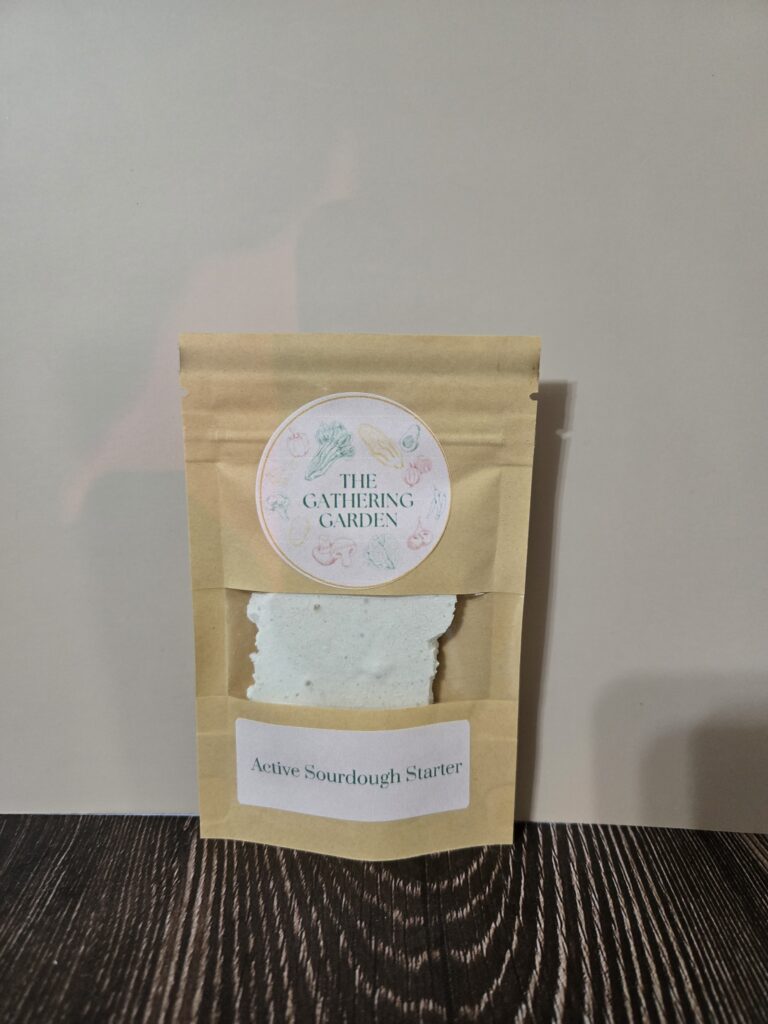
- 10 grams of freeze-dried sourdough starter
- 20 grams of room-temperature water
- 20 grams of unbleached bread flour
Equipment
- Kitchen Scale
- Clean Jar
- Silicone Spatula
- Rubber Band (or Dry Erase Marker)
- Unbleached Bread Flour
- Room Temperature Water (not hot water)
Click here to shop the products you will need to maintain your starter and bake your very own sourdough!
Directions Day 1: Rehydrate
- Using a scale, weigh 10 grams of freeze-dried starter and put it in a clean jar.
- Add 20 grams of room-temperature water to the jar.
- Let it sit for 30–60 minutes to soften fully.
- Stir with a silicone spatula until it looks like a paste.
- Add 20 grams of unbleached bread flour.
- Mix well, loosely cover, and let sit at room temperature for 24 hours.
- Little to no activity seen in the starter is normal at this stage. Most starters are ready to use after 3 – 5 days of consistent feeding.
Directions Day 2: First Feeding
- You may start to see some small bubbles begin to form.
- Discard your starter down to 20 grams total mixture.
- Discard goes into the trash, never down the sink drain.
- Feed the 20 grams of starter with:
- 20g of room temperature water
- 20g of unbleached bread flour
- Mix everything until there are no dry spots.
- Mark the height of the starter with a rubber band or by drawing a line on the jar with the dry-erase marker.
- Let it rest in a warm area (70 – 75°F).
Directions Day 3: Build Strength
- Repeat once every 24 hours:
- Discard the starter down to 20–30g of starter.
- Feed with equal parts of starter, flour, and water (1:1:1 ratio).
- 1:1:1 ratio: 20g starter: 20g room temperature water: 20g unbleached flour.
Timeline of What to Expect After Feeding a Mature Starter
- 0 – 2 hours: Little activity.
- 2 – 6 hours: Rising begins, and bubbles appear.
- 6 – 8 hours: Starter is at its peak. It has doubled in size, is airy, and slightly domed. This is the perfect time to use it to start a loaf!
- After Peak: The starter will begin to fall back down to the original line (this is normal).
Troubleshooting
- Rancid smell? → Discard and restart.
- No bubbles? → This is normal in the beginning; feed starter every 24 hours.
- Not rising? → Starter needs a warmer temperature or more time to rise.
- Liquid on top (Hooch)? → Drain off the liquid and feed as usual.
Want a printable version? Download it here.
Last Revised: 7/21/2026